Crispy Homemade Chicken Spring Rolls Recipe
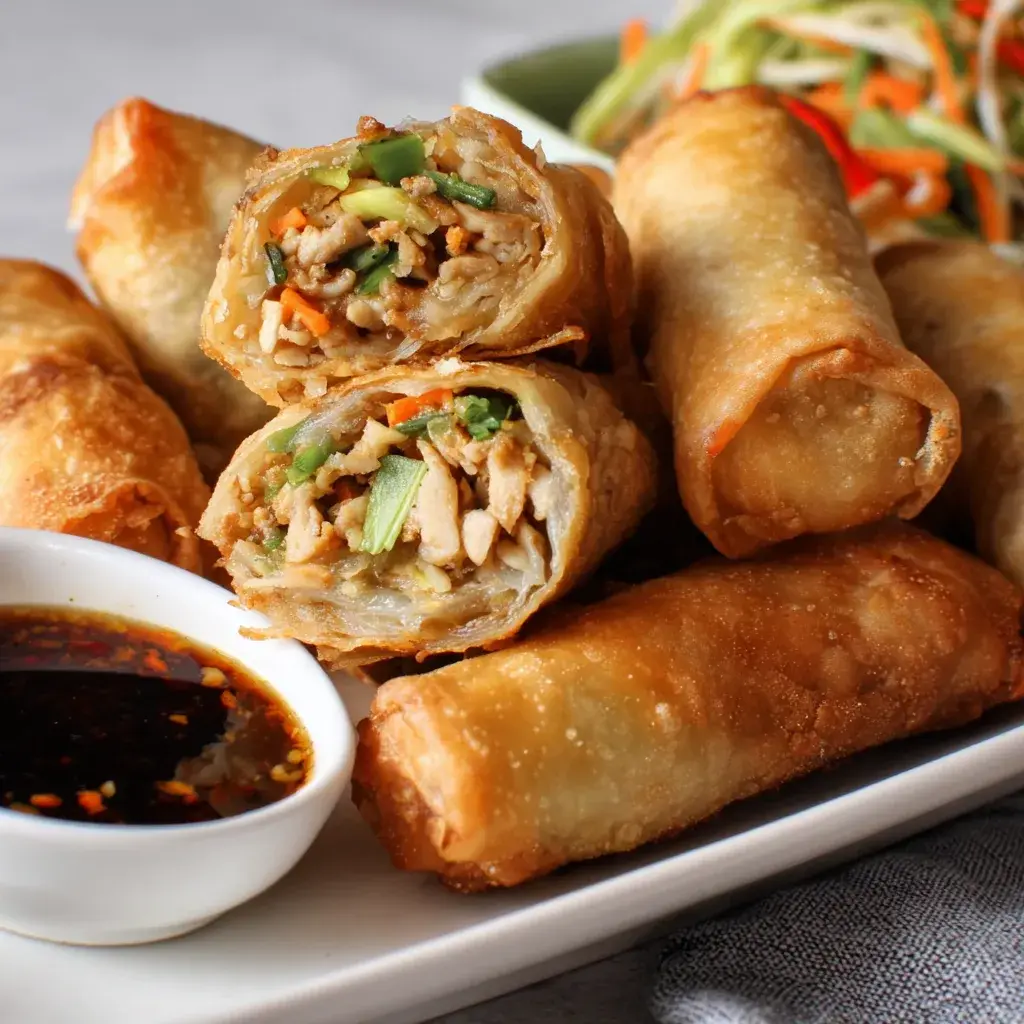
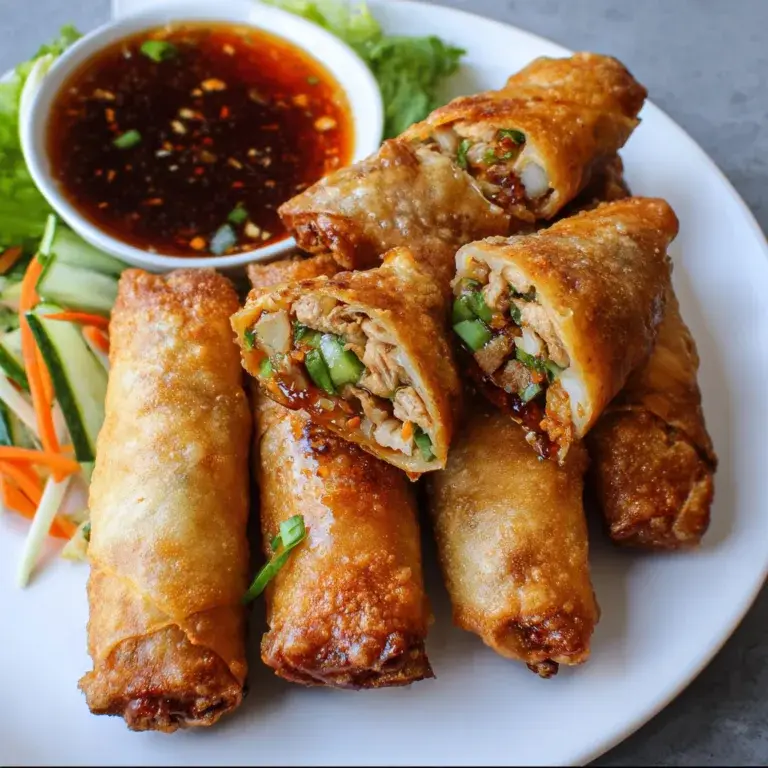
These crispy homemade chicken spring rolls are filled with juicy chicken, shredded veggies, and a flavorful soy-ginger mix. Fried until golden and crunchy, they make the ultimate appetizer or snack. Pair with your favorite dipping sauce and serve hot!
Total: 35 minYield: 12 spring rollsMethod: Frying
In this recipe
There's something magical about that first bite—the shattering crunch of perfectly fried wrappers giving way to juicy, seasoned chicken and crisp vegetables. The beauty lies in its simplicity and the way these golden-brown treasures disappear within minutes at any gathering.
Why You'll Love These Crispy Homemade Chicken Spring Rolls
Perfect Texture Contrast
When you achieve that perfect balance between the shatteringly crisp exterior and the tender-crisp filling, it's culinary magic!
Make-Ahead Convenience
These spring rolls are a meal-prep dream. I often prepare a double batch on Sunday, freezing half for quick weeknight dinners. The uncooked rolls freeze beautifully—just place them in a single layer on a parchment-lined tray until solid, then transfer to a freezer bag. When ready to cook, you can fry them directly from frozen, adding just 1-2 minutes to the cooking time. The filling can also be prepped up to two days ahead, making assembly a breeze when you're short on time.
Essential Tips & Tricks
Wrapper Wisdom
Selecting the right wrappers makes all the difference. Look for thin spring roll wrappers (not thick egg roll wrappers) in the refrigerated section of Asian markets. Keep them covered with a slightly damp cloth while working to prevent drying out. When wrapping, use a light touch with the egg wash—too much makes them soggy. Fold tightly, tucking in the sides as you go to create a secure seal. For crispy chicken perfection, attention to these details matters.
Oil Temperature Control
Maintaining the perfect oil temperature is crucial for achieving that golden-brown exterior without greasy results. I use a candy thermometer to keep my oil between 350-375°F. If the temperature drops too low, the rolls absorb excess oil and become soggy. Too high, and they'll burn before cooking through. Work in small batches—adding too many rolls at once drastically lowers the oil temperature. After each batch, I give the oil a minute to return to temperature before adding the next. That moment when you lift a perfectly golden spring roll from the oil is pure kitchen satisfaction.
Serving Ideas & Creative Variations
Dipping Sauce Pairings
The right dipping sauce elevates these spring rolls from delicious to unforgettable. My classic trio includes sweet chili sauce, peanut sauce with a hint of lime, and a tangy soy-ginger dip. For something unexpected, try a sriracha-honey drizzle or creamy wasabi mayo. I serve the sauces in small ramekins arranged on a wooden board alongside the spring rolls. The vibrant colors of the sauces create a beautiful presentation, and guests love mixing and matching flavors. At my last dinner party, the sweet-spicy combination was the unanimous favorite.
Filling Variations
While the classic chicken filling is always a hit, experimenting with fillings keeps this recipe exciting. Try ground pork with shiitake mushrooms and water chestnuts for an earthy variation, or shrimp with mango and avocado for a tropical twist. Vegetarian guests appreciate a filling of crispy tofu, glass noodles, and shredded Brussels sprouts. For a fusion approach, try buffalo chicken with celery and blue cheese, or Korean BBQ beef with kimchi. I keep the technique the same while playing with flavors, ensuring that satisfying crunch remains the star of the show.
Storage & Troubleshooting Guide
Keeping Them Crispy
Maintaining maximum crispness after cooking can be challenging. For best results, place freshly fried spring rolls on a wire rack rather than paper towels—this prevents steam from softening the bottom. If serving later, reheat in a 375°F oven for 5-7 minutes until crispy again. Never microwave them unless you enjoy soggy wrappers! For potlucks, I transport them in a single layer in an insulated container lined with parchment, then give them a quick reheat at my destination. That distinctive crunch is what everyone remembers, so it's worth the extra effort.
Fixing Common Issues
Even experienced cooks encounter spring roll challenges. If your rolls are bursting during frying, you're likely overfilling them or not sealing the edges properly. Use no more than 2 tablespoons of filling per roll and double-check your seals. Bubbling wrappers indicate moisture in your filling—pat ingredients dry before mixing and drain any excess liquid. If your rolls are browning too quickly but remain raw inside, your oil is too hot. And if they're greasy, your oil isn't hot enough. Remember that practice makes perfect—my first batch years ago resembled soggy cigars, but now they're consistently golden and crisp!
Frequently Asked Questions
Can I bake these spring rolls instead of frying?
Yes! Brush them lightly with oil and bake at 425°F for 15-20 minutes, turning halfway. They won't be quite as crispy as fried, but still delicious with significantly less oil.
How far in advance can I make Crispy Homemade Chicken Spring Rolls?
You can prepare and freeze uncooked spring rolls up to 1 month ahead. For same-day serving, assemble up to 4 hours ahead and keep covered in the refrigerator until frying.
Why are my spring rolls soggy?
Likely causes include oil temperature too low, overcrowding the pan, or excess moisture in your filling. Pat ingredients dry and maintain oil at 350-375°F.
Can I use leftover rotisserie chicken?
Absolutely! Shred it finely and mix with fresh vegetables. This shortcut saves time while maintaining flavor and texture.
What's the best oil for frying spring rolls?
Neutral oils with high smoke points work best—try vegetable, canola, or peanut oil. Avoid olive oil as its flavor can overpower the delicate filling.
Crispy Homemade Chicken Spring Rolls Recipe
These crispy homemade chicken spring rolls are filled with juicy chicken, shredded veggies, and a flavorful soy-ginger mix. Fried until golden and crunchy, they make the ultimate appetizer or snack. Pair with your favorite dipping sauce and serve hot!
- Bread
- Appetizer / Snack
- Frying
Cook’s checkpoint
- Frying oil
- 350°F / 175°C
- Chicken, thickest part
- 165°F / 74°C
Use a food thermometer. Color and time alone don’t confirm poultry is done.
Ingredients
Instructions
Notes
- Bake instead of frying: brush rolls with oil and bake at 400°F (200°C) for 15–18 mins, flipping halfway.
- Make-ahead: Freeze uncooked rolls on a tray, then transfer to bags for up to 2 months.
- Add vermicelli noodles for a heartier roll.
- Use pre-shredded coleslaw mix to save time.